
Navigation
Random Favorite Product
Fast Orange
A Must Have for Every Shop
Advertisers
1968 Corvette
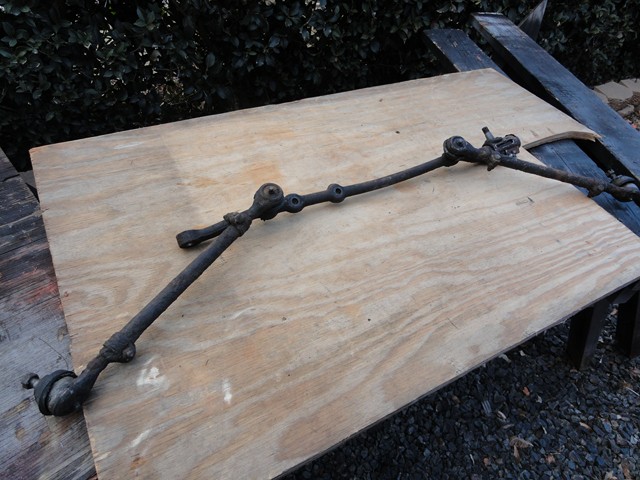
Relay Rod Rebuild
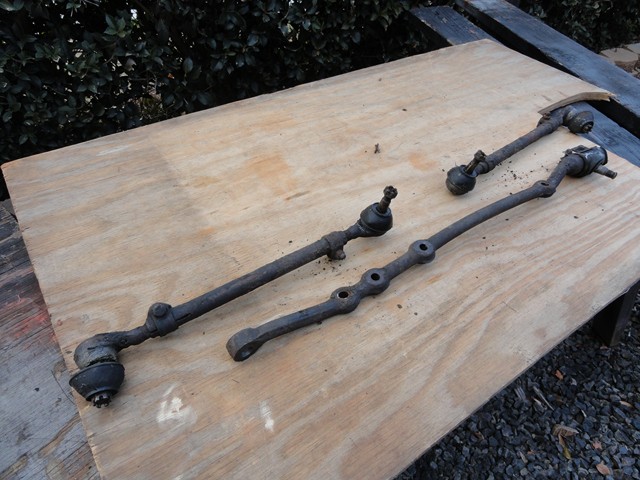
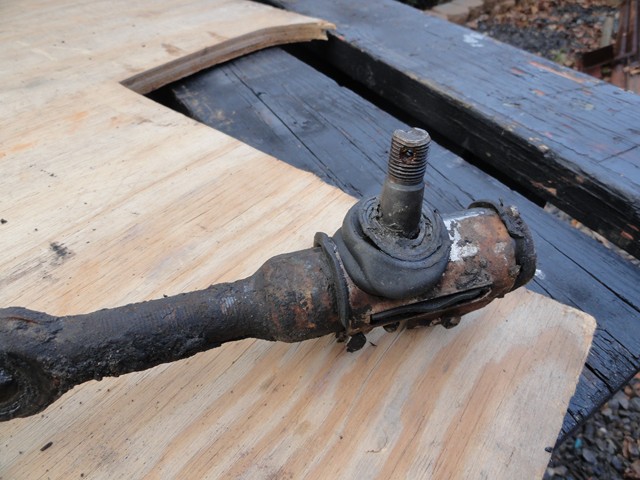
Even though I am thinking about switching over to power steering, I decided to rebuild the non-power steering relay rod anyways. Overall, it was a very simple process. The first thing I had to do was remove the remaining two tie rods.
With the tie rods removed, I moved on to taking off the metal clasp by removing the two bolts shown below.

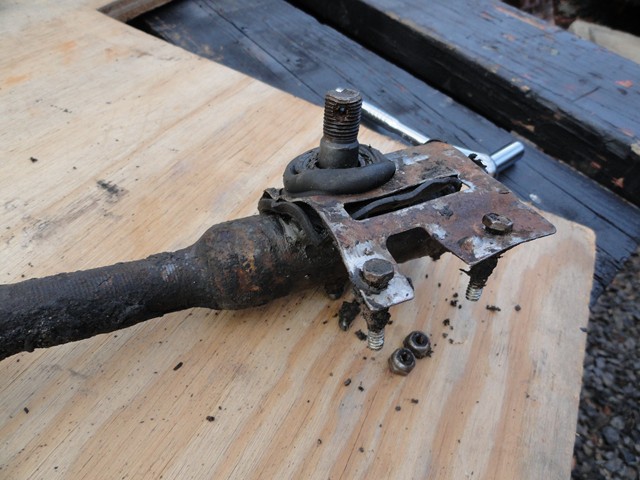
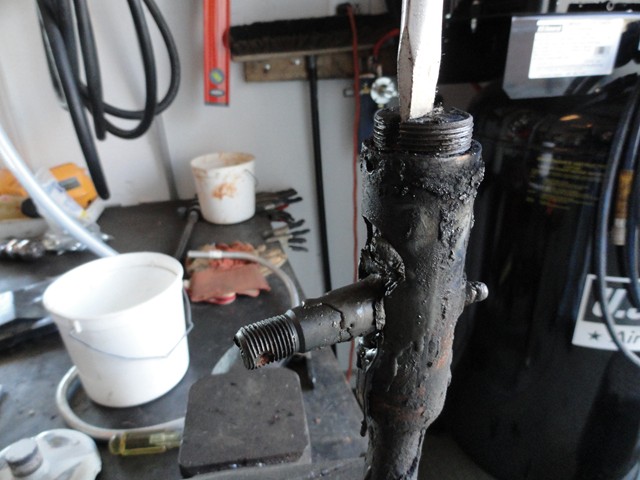
Once the metal clasp and the rubber seal were removed, I took out the cotter pin on the very end.
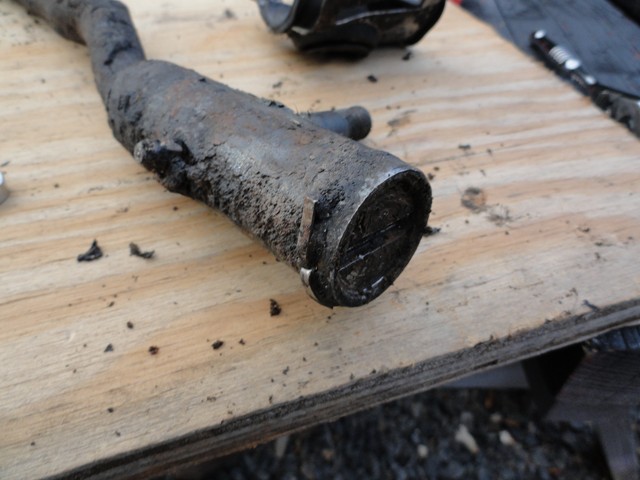
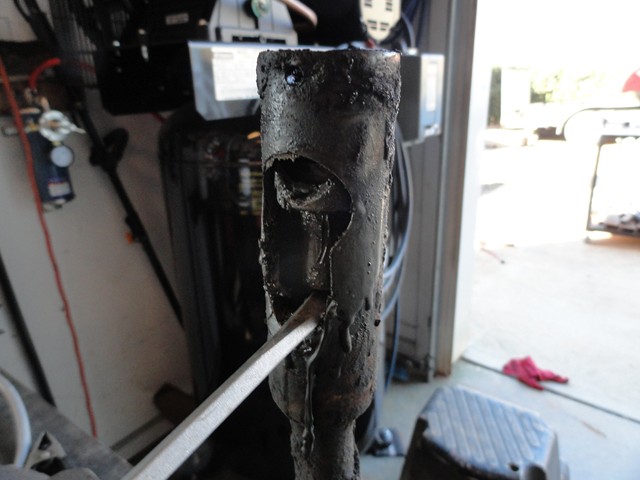
From there, I thought the cap would just screw out easily, but for me that wasn't the case. Because of its age, the cap wouldn't budge so I used a torch to expand the metal.
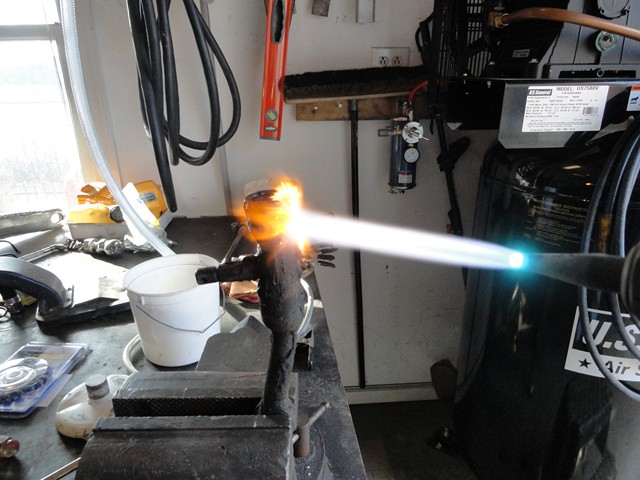
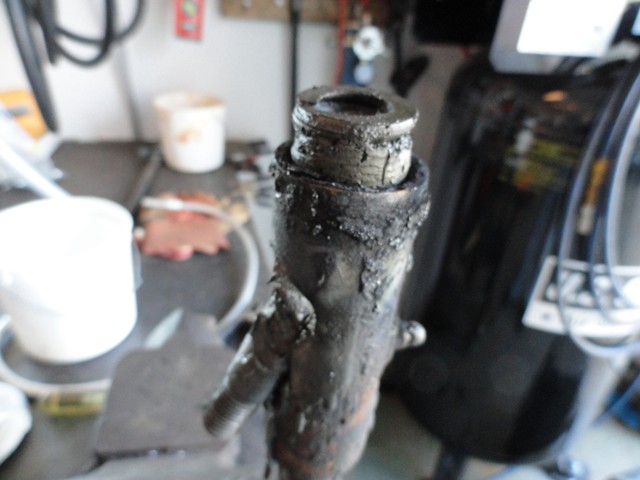
After the heat was applied, the cap unscrewed easily.
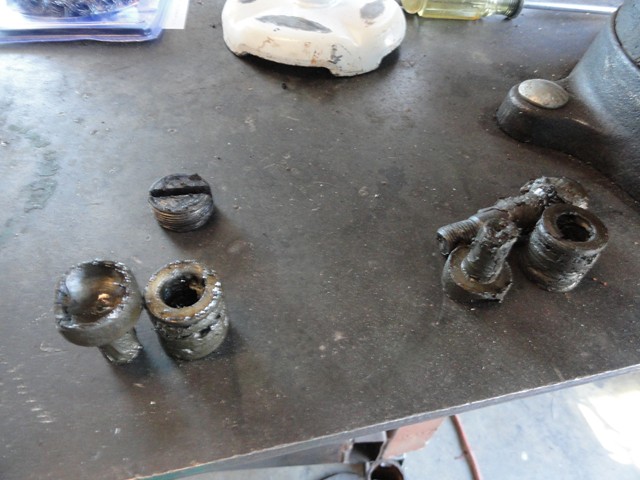
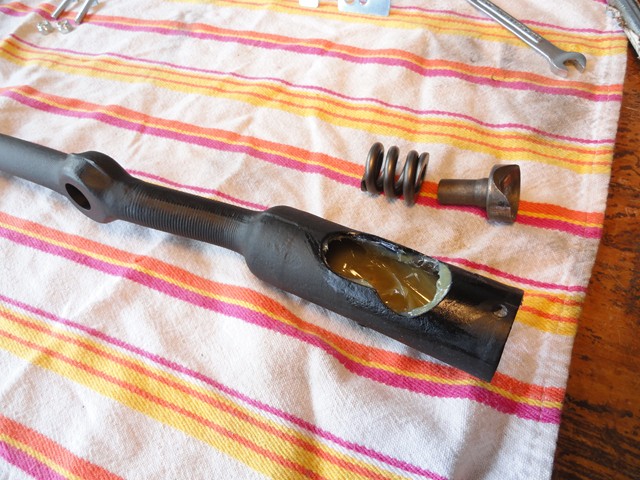
With the cap removed, I was able to use the ball stud to push up on the upper ball stud seat to remove both the spring and seat.
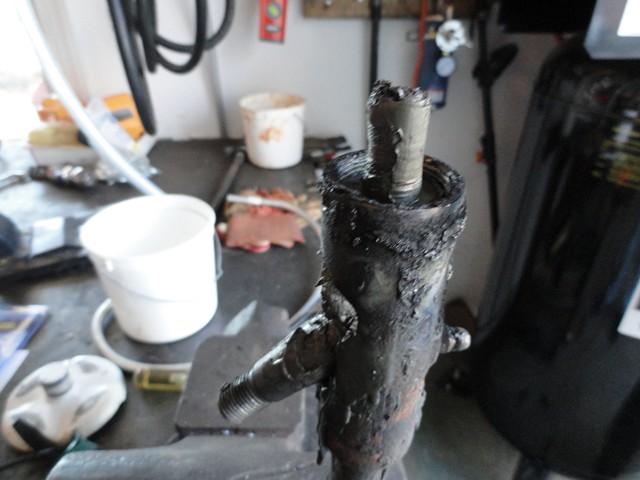
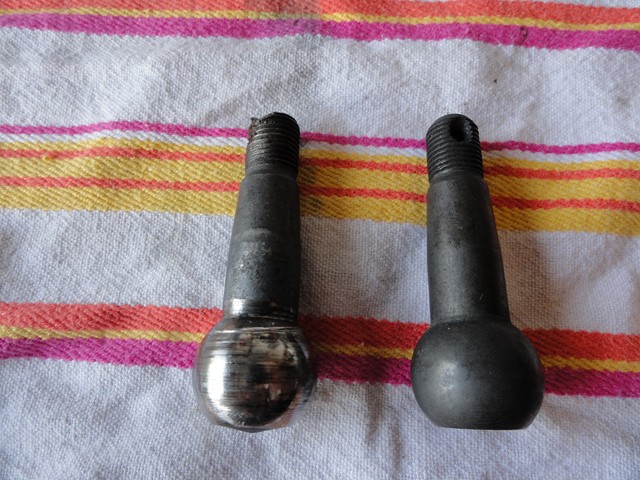
Next, I removed the ball stud by moving it up and sliding it through the wider opening.

With almost everything removed, I used a screw driver to pry out the last relay rod seat and spring.
Make sure to remember which parts go on each side, I cleaned the internals and prepped the relay rod for paint.
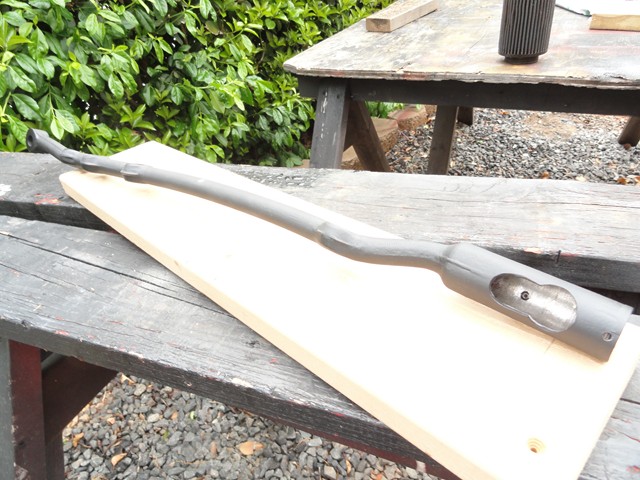
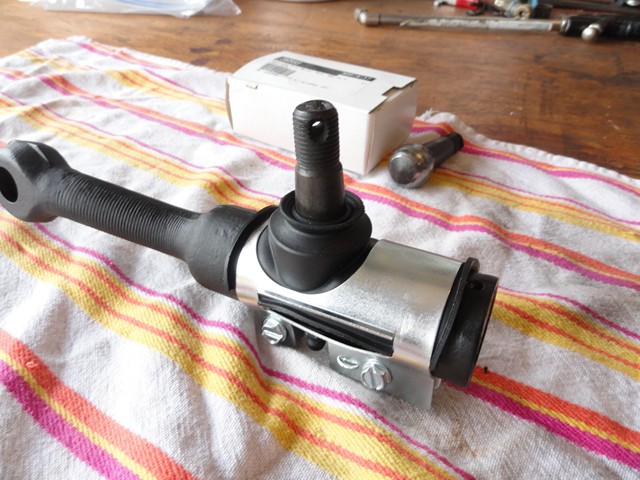
I ended up buying my rebuilt kit form Paragon Corvette for somewhere around $55.
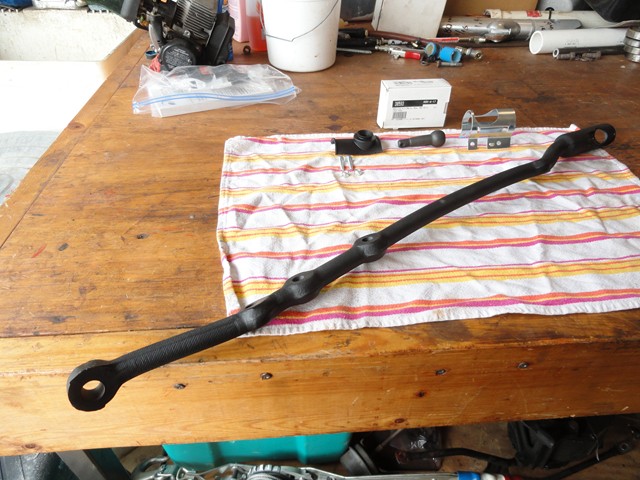
After making sure that the inside was clean of contaminates, I packed it full of grease and installed the lower spring and seat with grease spread along the parts before installation.
Next, I greased and installed the new ball stud. I finished it off with the upper ball stud seat, spring and cap.
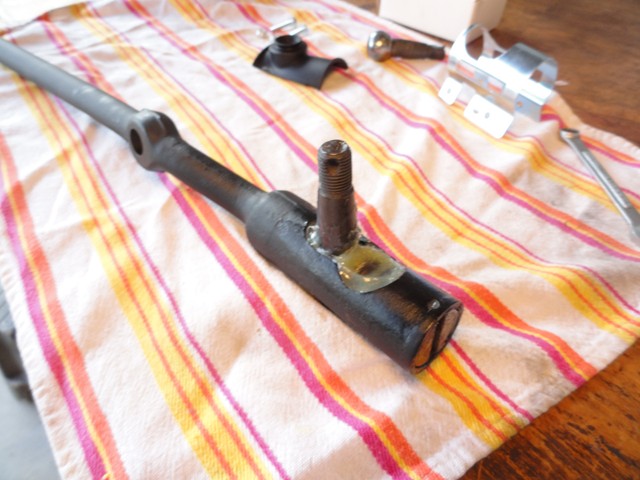
Once the cap became inline with the holes on the sides, I installed the cotter pin, new seal, metal clap, and tightened the bolts.
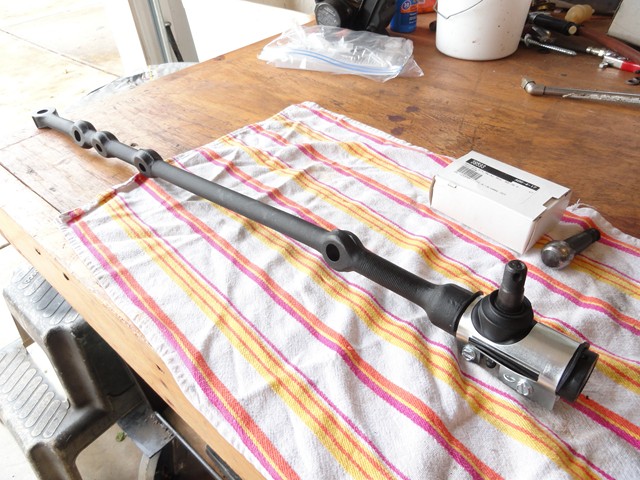
All in all, the relay didn't take much time and turned out very nicely.
Have a Question About This Article? Ask It Here!